Difference between revisions of "VMware ESXI 5.5 Appliance"
| Line 10: | Line 10: | ||
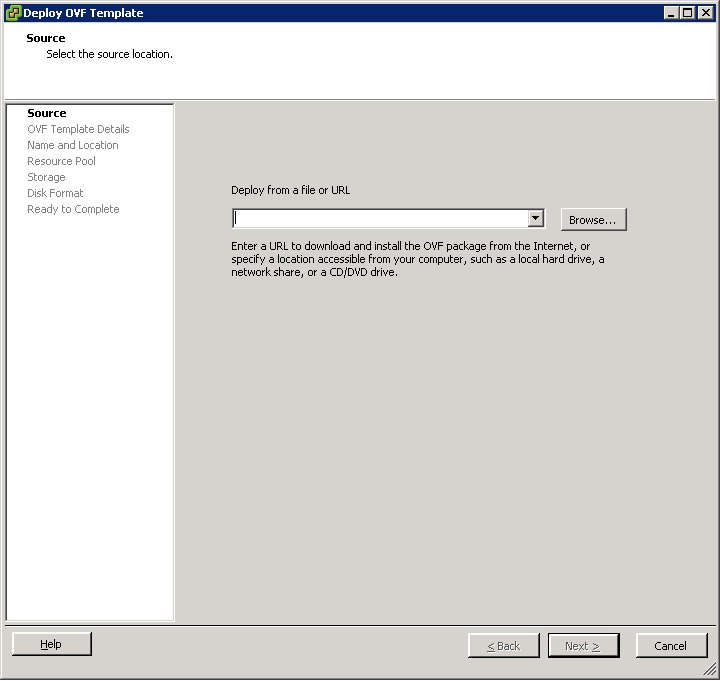
4. Press several times 'Next >' and in the end 'Finish' button. | 4. Press several times 'Next >' and in the end 'Finish' button. | ||
| − | 5. Then wait several minutes until | + | 5. Then wait several minutes until deployment completes. |
| − | 6. After that run the VM and login as root | + | 6. After that run the VM and login as root with '''scalix''' password. |
| − | + | <span style="color: red;">Note: for security reason we strongly recommend to change the password.</span> | |
| − | + | ||
| − | + | ||
| − | + | 7. If it's the first scalix initial startup you'll see Welcome message and interactive scalix configuration tool. Please follow the installation and set IP, DOMAIN, FQDN (https://en.wikipedia.org/wiki/Fully_qualified_domain_name). Additionally you can change the password and user for tests. | |
| − | + | <span style="color: red;">Note: at least one NIC should be configured with IP.</span> | |
| + | |||
| + | 8. In case you need to reconfigure current setup (e.g. change fqdn and domain) you can run '''sxinstall''' in console. | ||
Revision as of 17:10, 6 December 2016
1. Log in to vSphere Client 2. Select 'File' -> 'Deploy OVF Template ...'
3. On 'Deploy OVF Template' window press 'Browse...' and select path to *.ovf file.
4. Press several times 'Next >' and in the end 'Finish' button.
5. Then wait several minutes until deployment completes.
6. After that run the VM and login as root with scalix password.
Note: for security reason we strongly recommend to change the password.
7. If it's the first scalix initial startup you'll see Welcome message and interactive scalix configuration tool. Please follow the installation and set IP, DOMAIN, FQDN (https://en.wikipedia.org/wiki/Fully_qualified_domain_name). Additionally you can change the password and user for tests.
Note: at least one NIC should be configured with IP.
8. In case you need to reconfigure current setup (e.g. change fqdn and domain) you can run sxinstall in console.
